Setup LWC Development Environment
1. VS (Visual Stdio) Code
2. Salesforce CLI
- Download and install the latest version of Visual Studio Code.
- Open the Visual Studio Code and add extensions by clicking on the extensions icon present on the left side of the VS code editor.


- Search for Salesforce Extension Pack and install the extension. After that install Lightning Web Components extension.
- Once you done with installing the above two extensions Re-launch the VS code editor.
- Now it’s time to check that our environment is ready for creating Lightning Web Components by pressing Command + Shift + P on macOS or Ctrl + Shift + P on Windows and type sfdx.
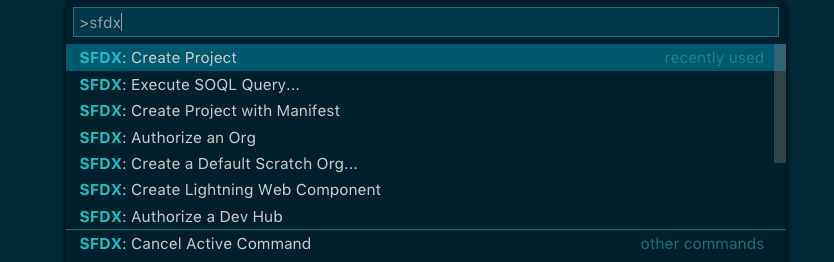
Hola..!! you are now ready to create your Lightning Web Components.
Creating SFDX Project
- First create a folder somewhere on your machine and name it trailblazer or anything of your choice.
- Navigate to that folder from VS code editor by
File > Open > trailblazer folder > Open
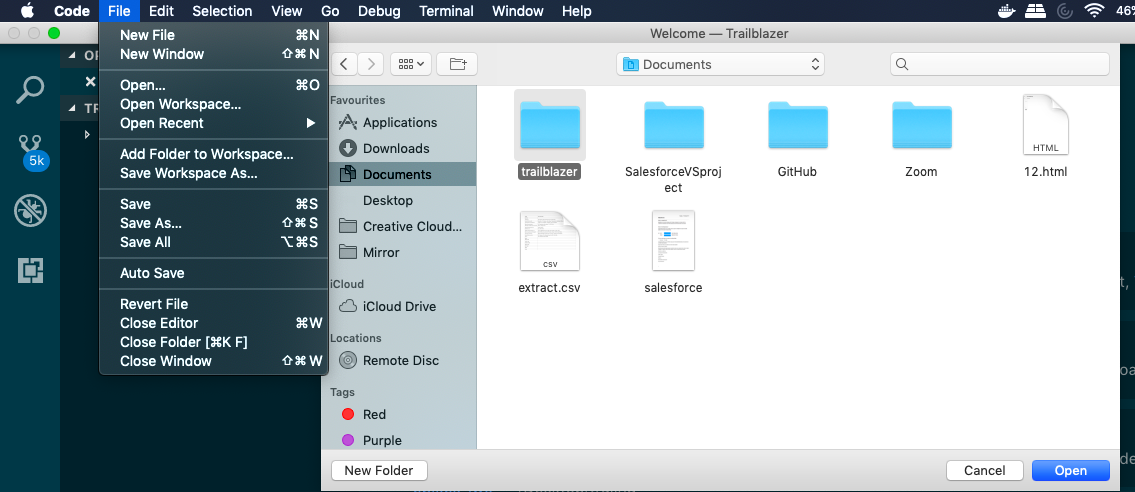
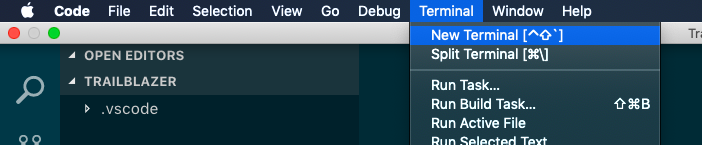
- Now we are in the trailblazer folder, Open the terminal in the VS code editor by Terminal > New Terminal
- Now will create a project in the trailblazer folder by clicking Command + Shift + P on a Mac or Ctrl + Shift + P on Windows it will open the command pallete
- Type sfdx and select SFDX:Create Project

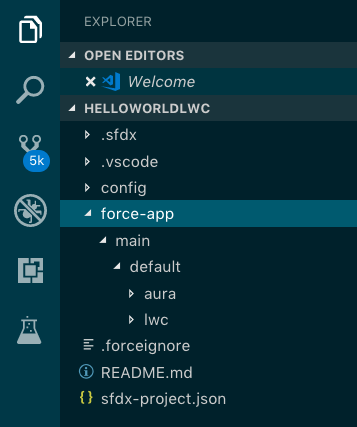
- Enter the project name as HelloWorldLwc and press enter.
- After the above step a new project is created with the name HelloWorldLwc in the VS code editor with the default project structure as shown :
- You can create the project using the command in the terminal of the VS Code.1
2sfdx force:project:create --projectname HelloWorldLwc - Now cd HelloWorldLwc to move to the project folder from the terminal
Authorize your Developer Edition.
- Open the Command Palette in the VS code by using the Command + Shift + P on a Mac or Ctrl + Shift + P on Windows
View > Command Palette - Select SFDX: Authorize an Org

- Select Project Default

- Give the alias name(myWorldOrg) or leave blank
- After the alias name you will be taken into the login screen where you have give your login credentials of salesforce org.
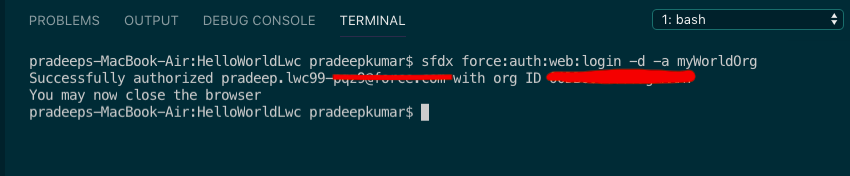
- You can authorize the same by using the CLI with the following command in terminal
1 2 3 4 5 | sfdx force:auth:web:login -d -a myWorldOrg -d : Specifies the authorized org as default -a : Specifies the alias name of the org. |
- After running the above command it will redirect to the browser asking for the credentials for authorization . Give the username and password of the org u have signed up.
- You will see a message as successfully authorized in the terminal after entering your credentials in the browser.
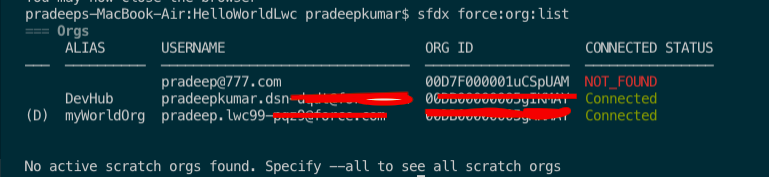
To check the org’s that are connected or authorized by using this command
1 2 | sfdx force:org:list |
–all : it will give all the orgs that are active and inactive
Creation of Lightning Web Component :
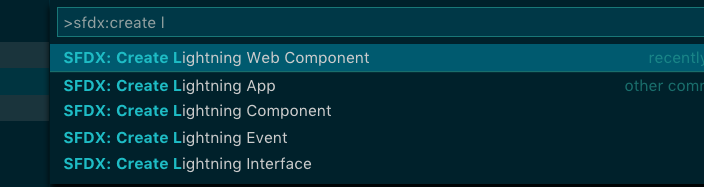
- In the VS code , Press Command + Shift + P on a Mac or Ctrl + Shift + P on Windows.
- Type sfdx then search for sfdx: create lightning web component and select.
- Select the path in which the Lightning Web Component to be created. By default the path is under force-app/main/default/lwc.

- After that enter the name of the Lightning Web Component as helloExpression (anything of your choice) and press enter.
- Now you have successfully created your first LIghtning Web Component helloExpression.
- You can check your component under the lwc folder in VS Code editor
- Another way of creating the Lightning Web Component is by salesforce cli .
- Use this command in the terminal to create a Lightning Web Component and make sure that you are in the project folder in the terminal.
1 2 | sfdx force:lightning:component:create --type lwc -n helloExpression -d force-app/main/default/lwc |
–type : specifies which type of component you are creating i.e, –type lwc for lightning web component and –type aura for aura components.
-n : specifies the name of the component .
-d : specifies the directory in which we are creating the component.
- You will see the above screen when the lightning web component is created.
Code for the helloExpression LWC component.
helloExpression.html
<template> <lightning-card title="HelloWorld" icon-name="custom:custom14"> <div class="slds-m-around_medium"> <p>Hello, {greeting}!</p> <lightning-input label="Name" value={greeting} onchange={changeHandler}> </lightning-input> </div> </lightning-card></template>
<template>
<lightning-card title="HelloWorld" icon-name="custom:custom14">
<div class="slds-m-around_medium">
<p>Hello, {greeting}!</p>
<lightning-input
label="Name"
value={greeting}
onchange={changeHandler}>
</lightning-input>
</div>
</lightning-card>
</template>
helloExpression.js
import { LightningElement, track } from 'lwc';
export default class HelloWorld extends LightningElement {
@track greeting = 'World';
changeHandler(event) {
this.greeting = event.target.value;
}
}
helloExpression.js-meta.xml
<?xml version="1.0" encoding="UTF-8"?>
<LightningComponentBundle xmlns="http://soap.sforce.com/2006/04/metadata">
<apiVersion>48.0</apiVersion>
<isExposed>true</isExposed>
<targets>
<target>lightning__AppPage</target>
<target>lightning__RecordPage</target>
<target>lightning__HomePage</target>
<target>lightning__Tab</target>
</targets>
</LightningComponentBundle>
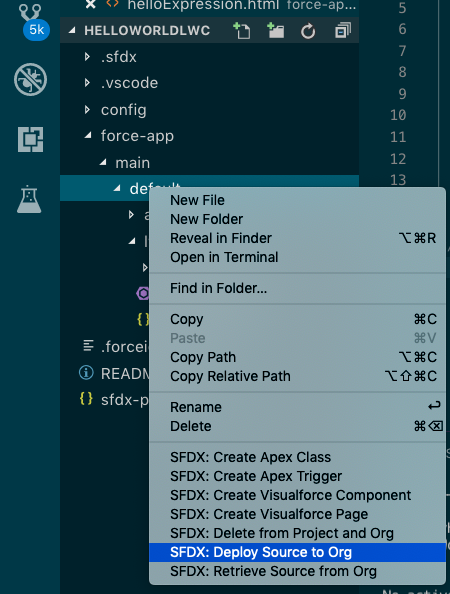
Deploying the component to Org :
- In the visual studio code, select the default folder in the project.
- Right-click on the default folder, there you will find an option SFDX:Deploy Source to org and select that.
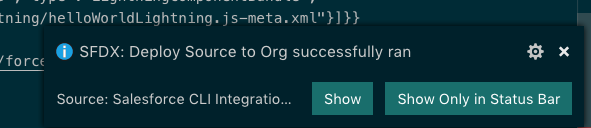
- After the successful deployment you will see the following message in the terminal
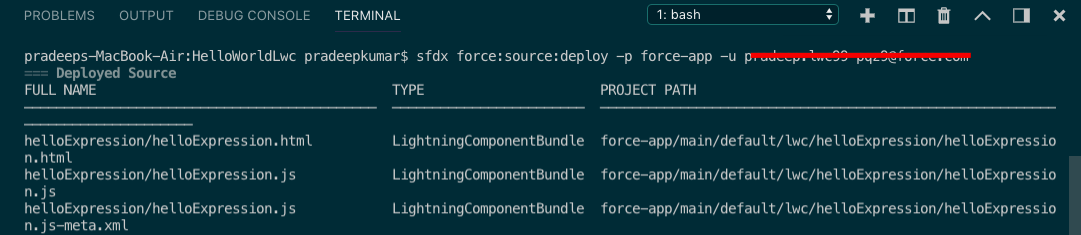
- You can do the same deployment by using the terminal with the command mentioned below
1 2 | sfdx force:source:deploy -p force-app -u OrgNameWhichWasCreated |
-p : specifies the path from which directory you want to deploy to org from VS Code
–u : specifies the username of the org to which you are deploying the component
- Now to open the Org to which we have deployed the component use the command
1 2 | sfdx force:org:open -u OrgNameWhichWasCreated |
It will automatically open the org in the browser.
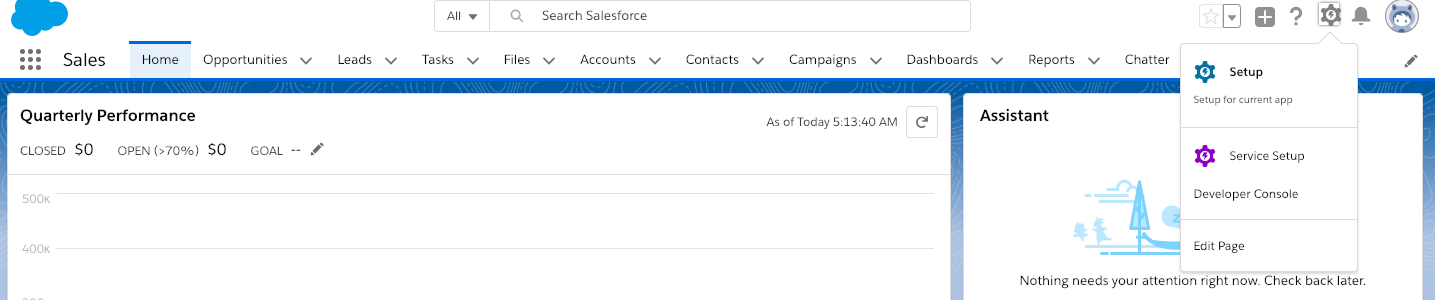
Finding the Lightning Web Component in the org:
- In the org select the sales app.
- Edit the home page of the sales app by clicking the gear icon at the top right corner and then Edit
- After selecting the Edit Page you will be navigated to Lightning App Builder of the home page. It should look something like the below page.
- Now on the left hand side search for the component helloExpression we have created
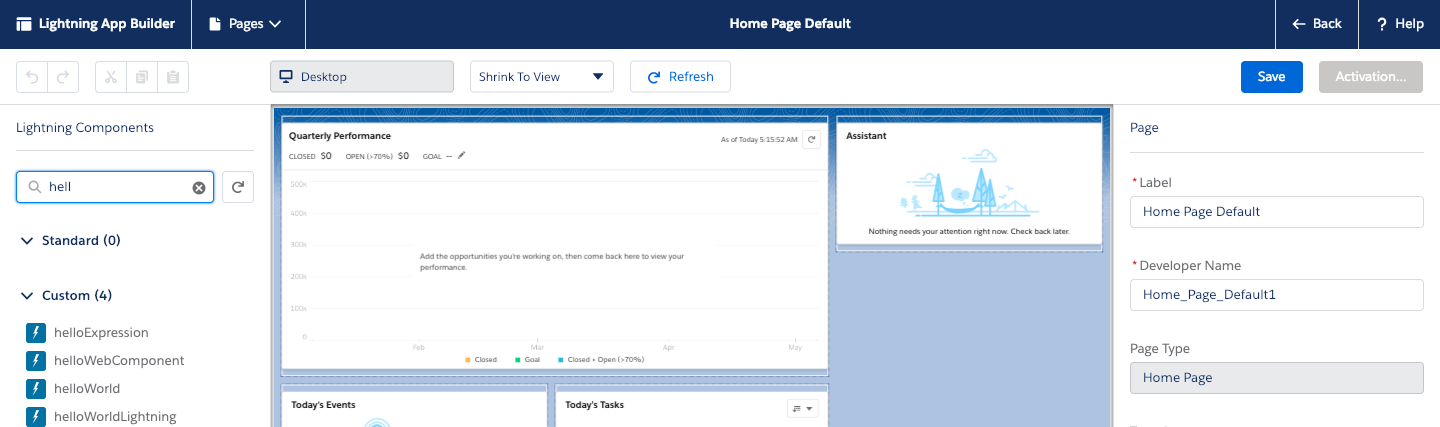
- Drag the component on to screen and place it somewhere on the right top corner
- Then Click
Save > Activate > Assign as Org Default
Open the sales app from the app launcher .will see the our component at the corner.

Nice one
ReplyDeleteVery Nice it's helpful for me........
ReplyDelete